I continued the headliner install with rear window and molding install. All this needs to precede the installation of fiber glass interior panels. The panels had been cleaned and painted Ruby Red (RAL3003) at an earlier phase and to my opinion they match quite well the color of the interior.
 |
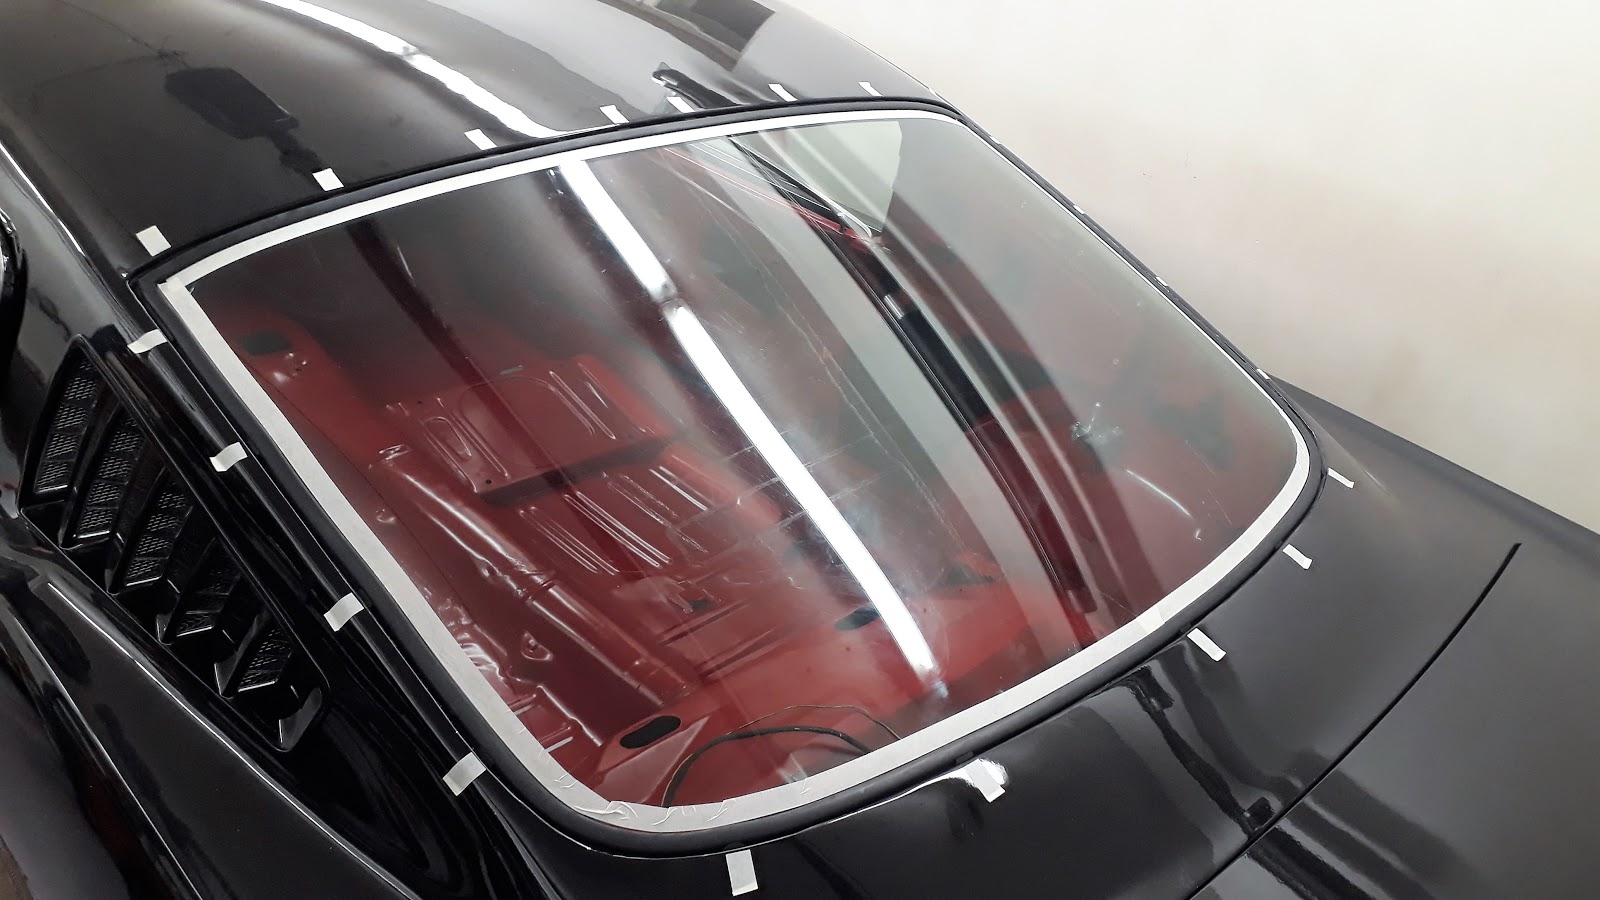
| Molding clips marked with masking tape |
 |
| Original molding sits nicely |
Interior panel install starts from the middle, then moves towards the big quarter panels via the curvy pieces in corners. New holes needed to be drilled in the support brackets as both the brackets and panels are a compilation of two sets that I had. I also added some sound deadening on the wheel well area.
Another area where locating the pre-drilled holes prior to installing headliner comes handy is the area for the top arch panels which connect the panels on both sides while travelling across the top by the upper edge of the rear window. Very painful to drill new screw holes at this stage.
 |
| Center part installed |
Installing the
fold down rear seat was quite a tight fit. The interior panels absolutely leave no extra play for the seat and you very easily scratch your newly painted panels. The shims were needed to align the seat. If I recall correctly 1 on the other side and 5 or 6 on the other. The
trap door was installed (still as slightly wrong colored here) to be able to line it to match the flat part.
 |
| Fold down seat being installed |
 |
| Fold down in up-position |
 |
| More equipment installed in dash |
A very rewarding phase of restoration when you have all of the stuff clean and ready to be installed and you finally see the end result of hours of work. At the same time it is a painful phase as every scratch you make hurts you almost physically.