The newly re-skinned door made a reference point for aligning the quarter panel, so the rusted sheet metal could be cut off. I started cautiously by cutting it about 2" from the final line in order to keep it rigid during the wheel house repairs. I would trim the excess off when the quarters panels would be fit.


The cut-out revealed the badly rusted outer wheel house and the inner wheel house which was not that bad but was pitted in the area where it attaches to the trunk floor flange.


As the trunk floor drop-off would also be replaced there was not much to be done other than to remove the wheel house entirely. This demanded for a few spot welds to be drilled out.
 |
 |
| Spot-welds marked for drilling |
Finally,when all the spot welds had been drilled and excess metal had been ground off I was able to test fit the new replacement wheel house. At the time the remainders of the trunk floor drop-off was also removed. I was suggested by a couple of FMOC fellow members that I should mini-tub the wheel wells so that wider wheels would have more room. That would require the inner wheel house to move about 2" inwards. I measured and concluded that only less than 1" is available without affecting the fold-down rear seat. I intend to keep it untouched so I rejected the idea of mini-tubbing. Originality and functionality went over the performance.
So, prior to welding wheel houses the trunk floor would need to be welded. As a matter of fact you will have to mate all the parts before welding any. Once you are sure that all of the parts (quarter panel, outer wheel house, inner wheel house, trunk floor) go hand-in-hand you are ready for welding them in reverse order.
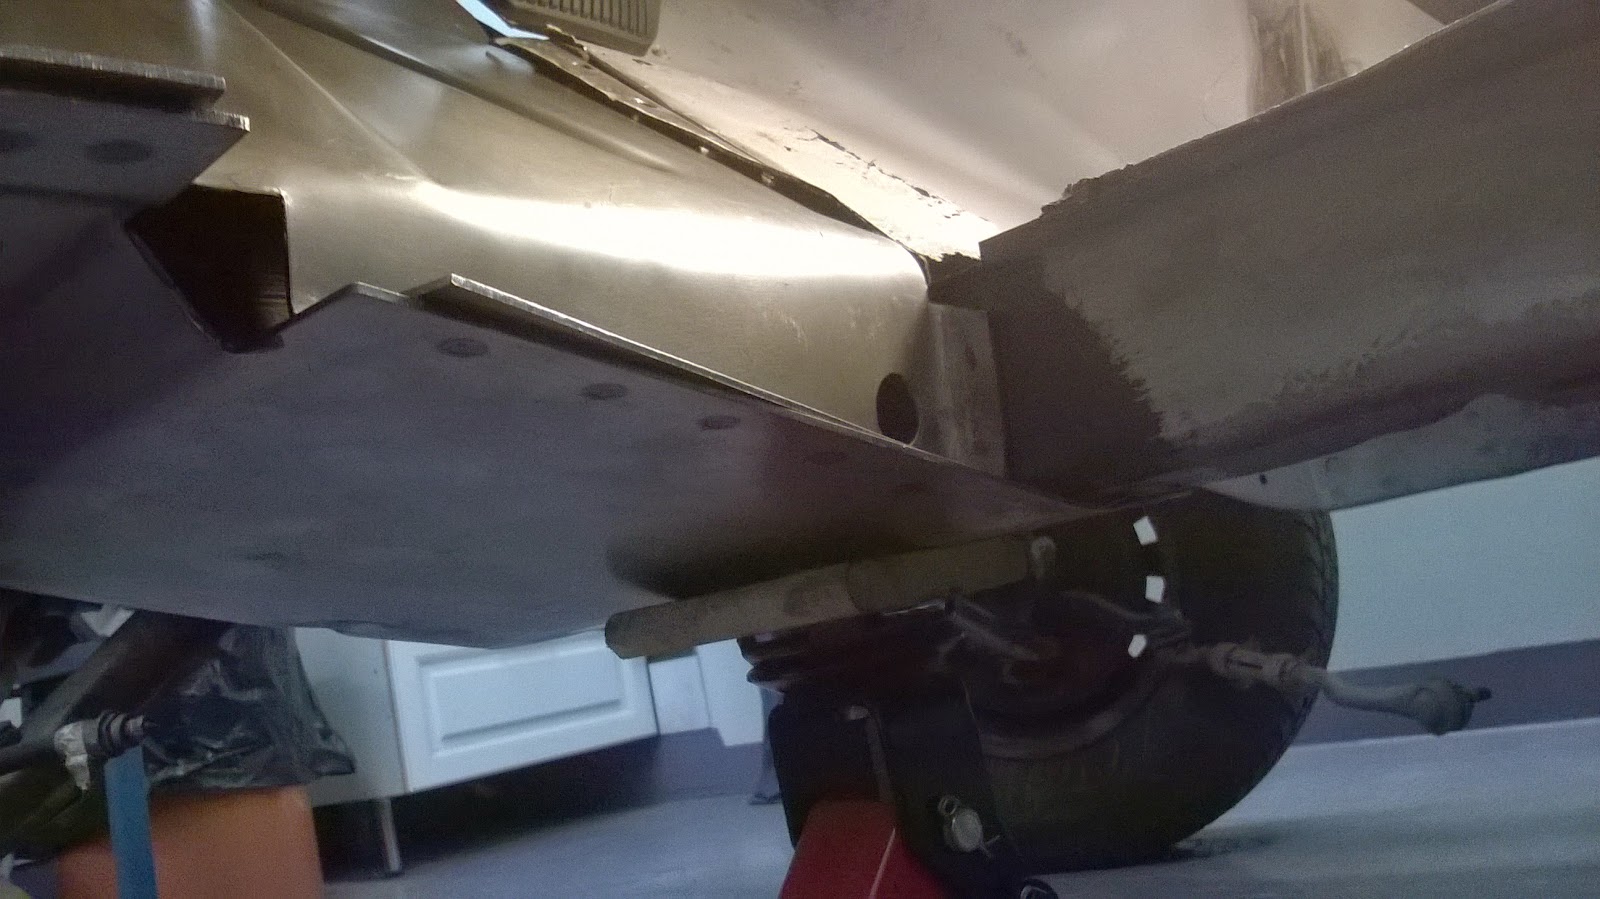
But the rear part of the frame rail seemed like this.


 |
| I cut 31 cm from the shackle mount |
 |
| Careful measuring and masking the cut |
I made use of the left over by welding it upside down as an overlapping section to give more support that just seam welding the parts together.
 |
| Adding some overlap |
Then the rear part was clamped tight and welded. When correctly cut the parts will automatically position themselves. I took measures for reference but I did not add support to the tail light panel because there is not much weight on it as almost everything of the rear is away.

Once the front and rear were one again I was able to verify the distance between the frame rails at the shackle mounts and weld to the bumper bracket.

Now that I had reached the ground the fitting of the trunk floor and wheel wells would finally begin. This phase consists of uncountable number of repeated fitting, cutting and measuring until you're sure that you are ready to weld. And all this is repeated on the other side of the car !
Here are some pictures of this. Enjoy !


With the driver side solid again I moved to the passenger side. After cutting bigger pieces the body looked quite scary.
 |
| Right quarter removed |


 |
| Recording the position of the seat bracket |


 |
| A block of wood and a clamp keeping the gas tank opening square and within measures |

The trunk floor front panel is being welded. I used gas tank (empty) as a gauge to verify correct position.


The reparation continues in the next post outer wheel wells and quarter panels.