First thing to do is to paint the inside of them as it is almost impossible to do after welding them in.
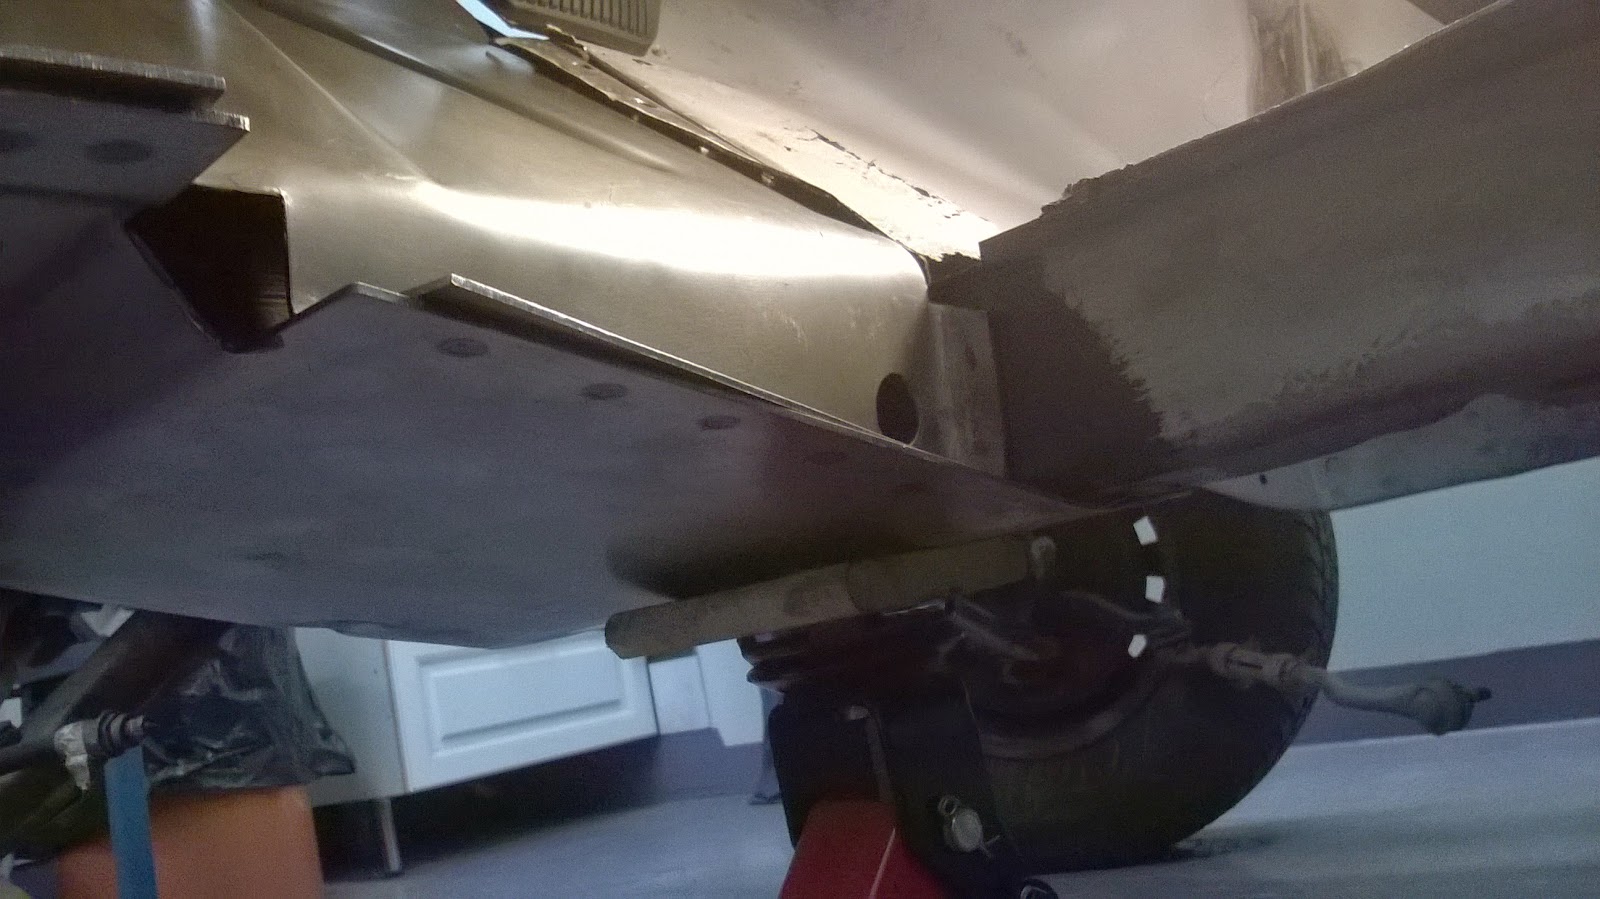
First time fitting the torque box and removing the remainders of floor support. These boxes are very precise in measures.
Hydraulic jack is needed because the box sits tight between the rocker and frame rail. The flange in the lower edge of the frame rail needs to reshaped to give room for the box. Despite the box being accurate shaped it has to be test fit many times.
Once all the fitting is done, the areas to be covered are to be primed. Then the plug weld holes are drilled.
The edge of the torque box is cut so that it will meet the flange of the frame rail. The flange is partially seen behind the clutch pedal in the below picture.
The inbound flange of the torque box welds in the bottom of the frame rail extension. These plugs are the last ones to weld, after the torque box is attached elsewhere. I'll weld these plugs later when I hoist the car for floor pan replacement.
Here the torque box is butt welded to the frame rail (on the right) and to the rocker panel (on the right).
Same process on the passenger side of the car. Note that the outer firewall patch almost touches the upper edge of the box, which is good and helps for making a smooth seam between the firewall, torque box and the toe board. On the driver side there remains a gap which has to be addressed either by a sheet metal patch or precisely shaping and welding the toe board.
The torque boxes are there and I am confiding that the body is solid and more of the floor pans can be cut out for toe board patching.


No comments:
Post a Comment